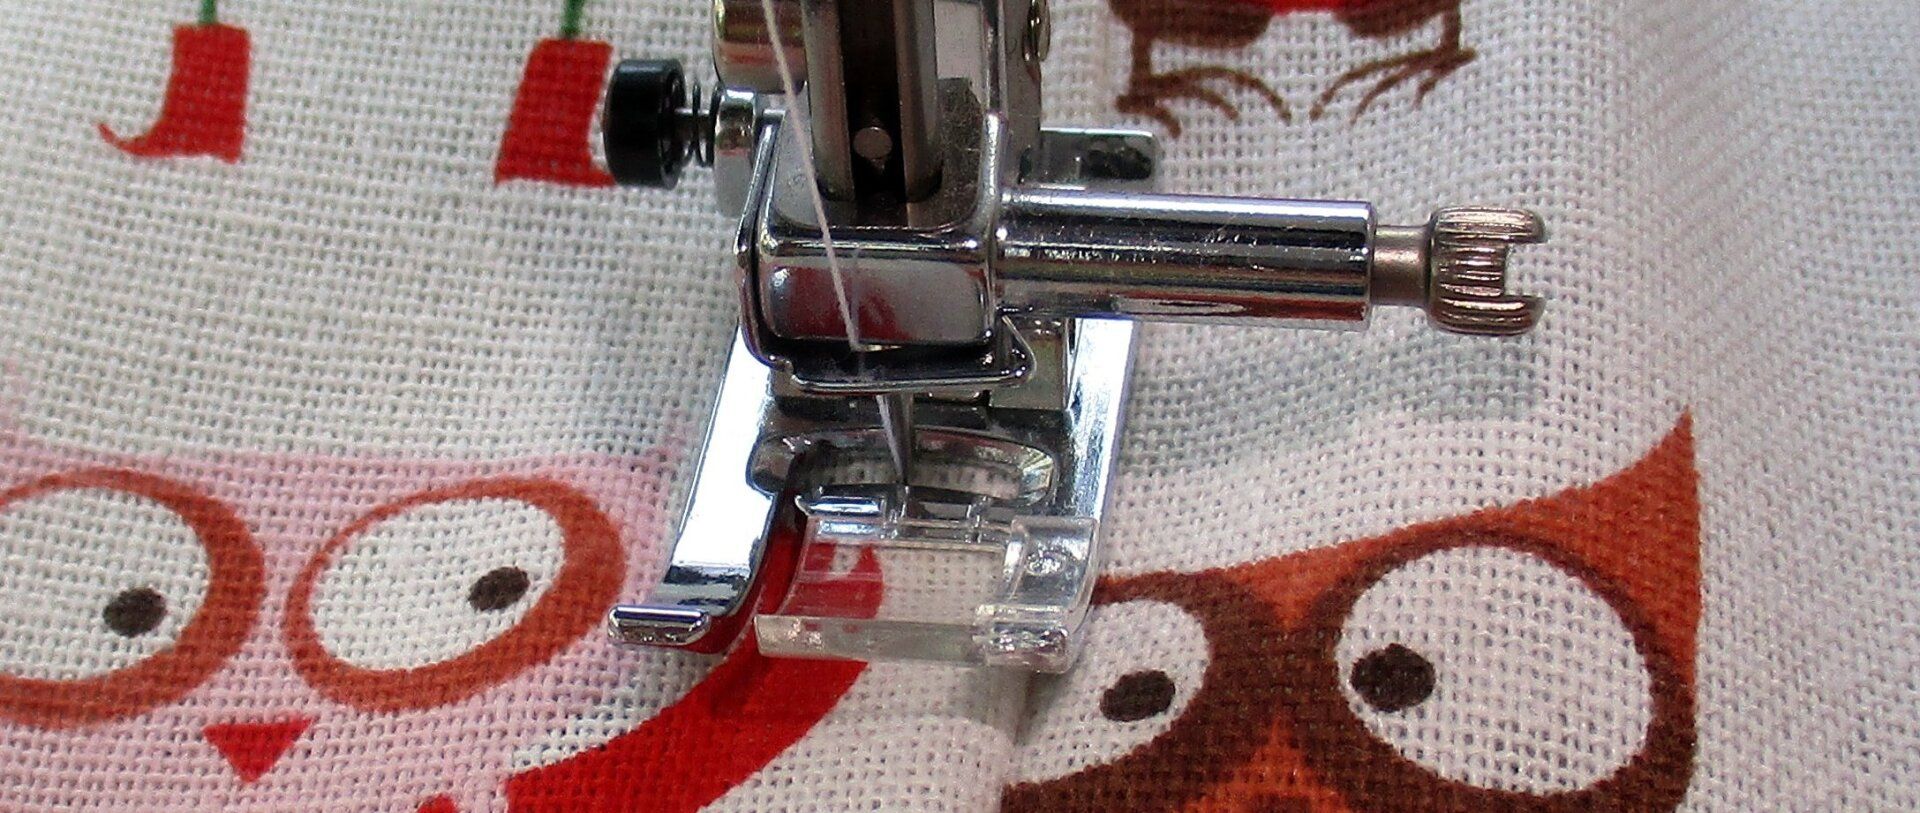
THE VERY BASICS
Stitches, quick fabrics guide and handy tools. Getting things ready and starting out. Here we go ! Follow online, or download my pdf crib sheets to help as you sew.
STITCHING BY HAND
Machines are brilliant, but we all need to hand sew at times. These are the basic stitches that should get you through.
Running Stitch :
The first stitch we all learn. Used for basting or tacking too.
Longer basting stitches are used to keep two fabrics together temporarily. While the shorter, running stitch can be used to create neat gathers by pulling gently on the thread.
The needle stabs in and out of the fabric in one movement. Keep stitches as even as possible : )
Back Stitch :
This is the best stitch for seams when you hand sew. It is very similar to the basic running stitch, but here you literally "back " stitch into the space left behind.
Oversew stitch :
Used to join the edges of two fabrics together. Can be used to close openings (but does not give such a neat finish as Ladder stitch : ) Best used to attach ears and other apendages you might need to attach to your softie.

Blanket Stitch :
Probably does get its name from the edging stitch on blankets (remember those, before we had duvets : ))
Very similar to the oversew stitch above, but you catch the thread in the previous stitch to create a further row of stitches running at right angles.
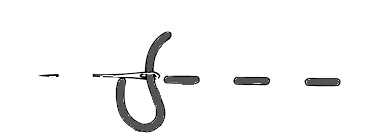
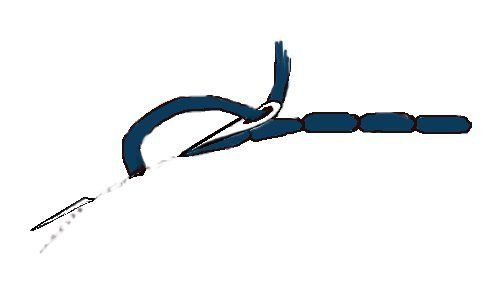
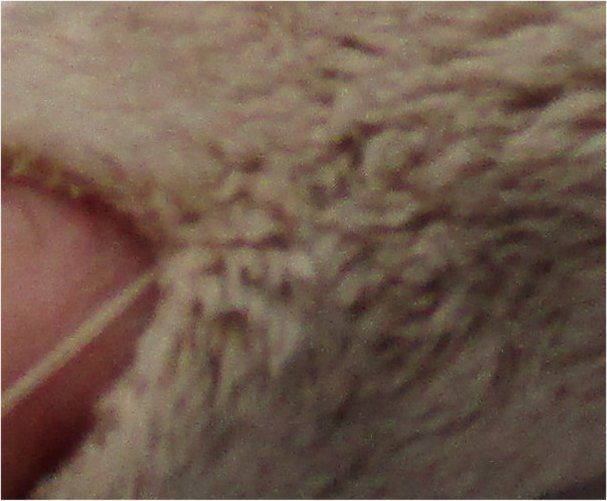
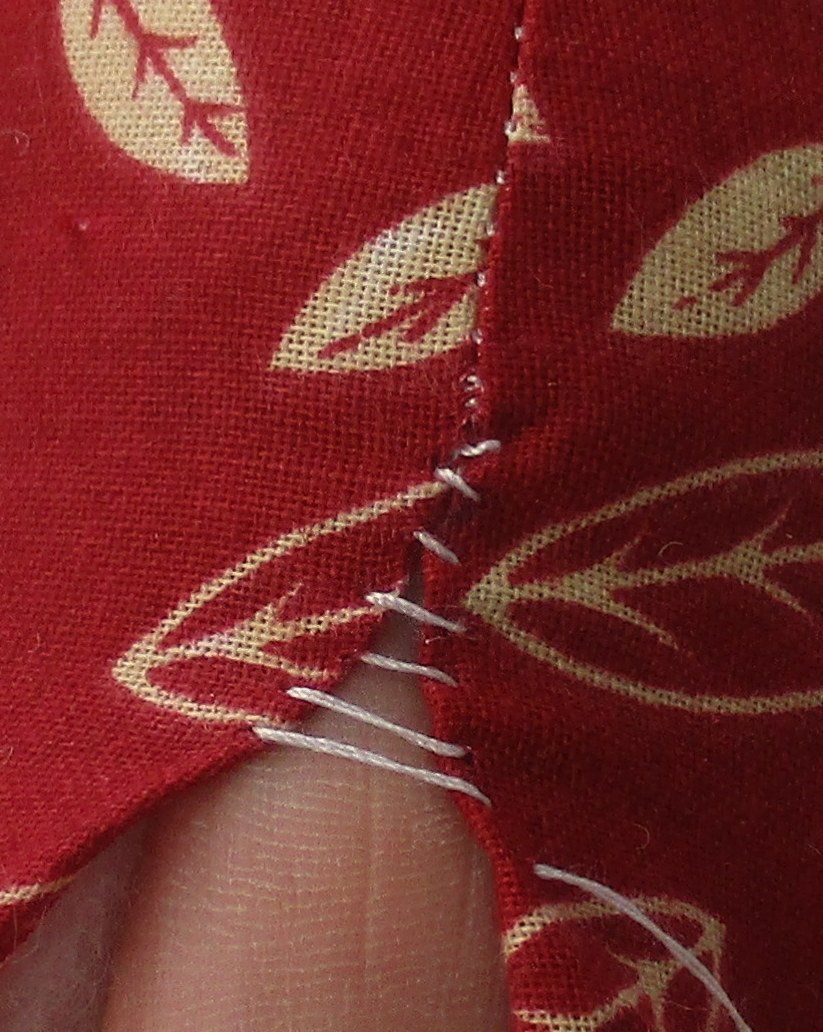
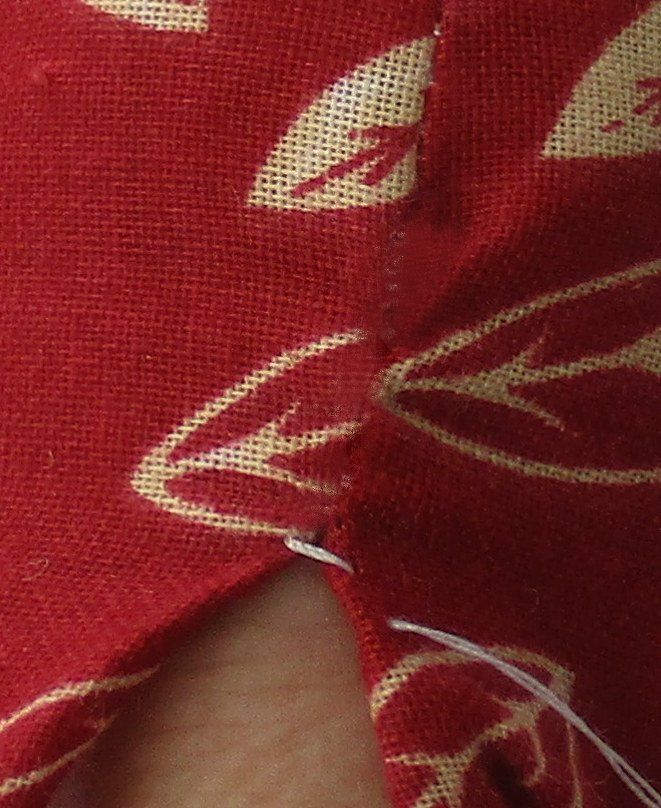
Ladder Stitch:
This stitch is perfect for closing openings on softies. It can be almost invisible (especially when used on fur or other piled fabrics : )
Very simply, work along the oepening taking small alternate stitches on either side. Work in groups of 4 or 5 stitches, but do not pull the thread taut as you sew.
When you have a small group, then pull the thread in the direction you are sewing (this part is important). The raw edges should then turn to the inside with a neat closure.
If the group of stitches is not doing as they should, run your needle along the edge, between stitches to encourage the edge to turn inside,
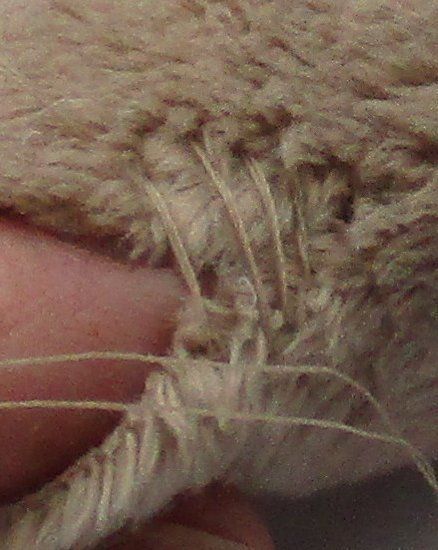
See the two examples below, one in fur and one on fabric.
TIPS USING YOUR PATTERN
You've found the pattern you want, you've purchased the fabric but making those first cuts can be more than daunting!
Preparation is the key :
There is nothing worse than cutting out your pattern to find that you cannot get that last leg piece out! Always check that you have all the pieces you need before making any cut into the fabric or fur.
Try duplicating the paper pieces this helps to make sure you get left/right facing pieces and the best use of your treasured fur or fabric : )
Things to remember:
- Use a contrasting coloured pencil to draw around the pieces.
- Always work on the back of your fabric
- Check fur or pile direction.
- Add any markings like joints/eye positions
- Check that you have right/left facing pieces where needed.
- Cut out on or just inside your drawn lines.
WORKING WITH FUR
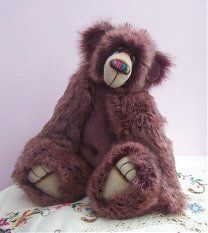
- Bonkers here is made in a very dense, thick fur (hence his name : ) Lovely to hug but more of a challenge to work with !
With this type of fur, it really helps to trim the fur from the seam allowance (remembering to keep inside the allowance or you will have a bald bear ! ) Makes stitching much easier - and less fur trapped in the seams.
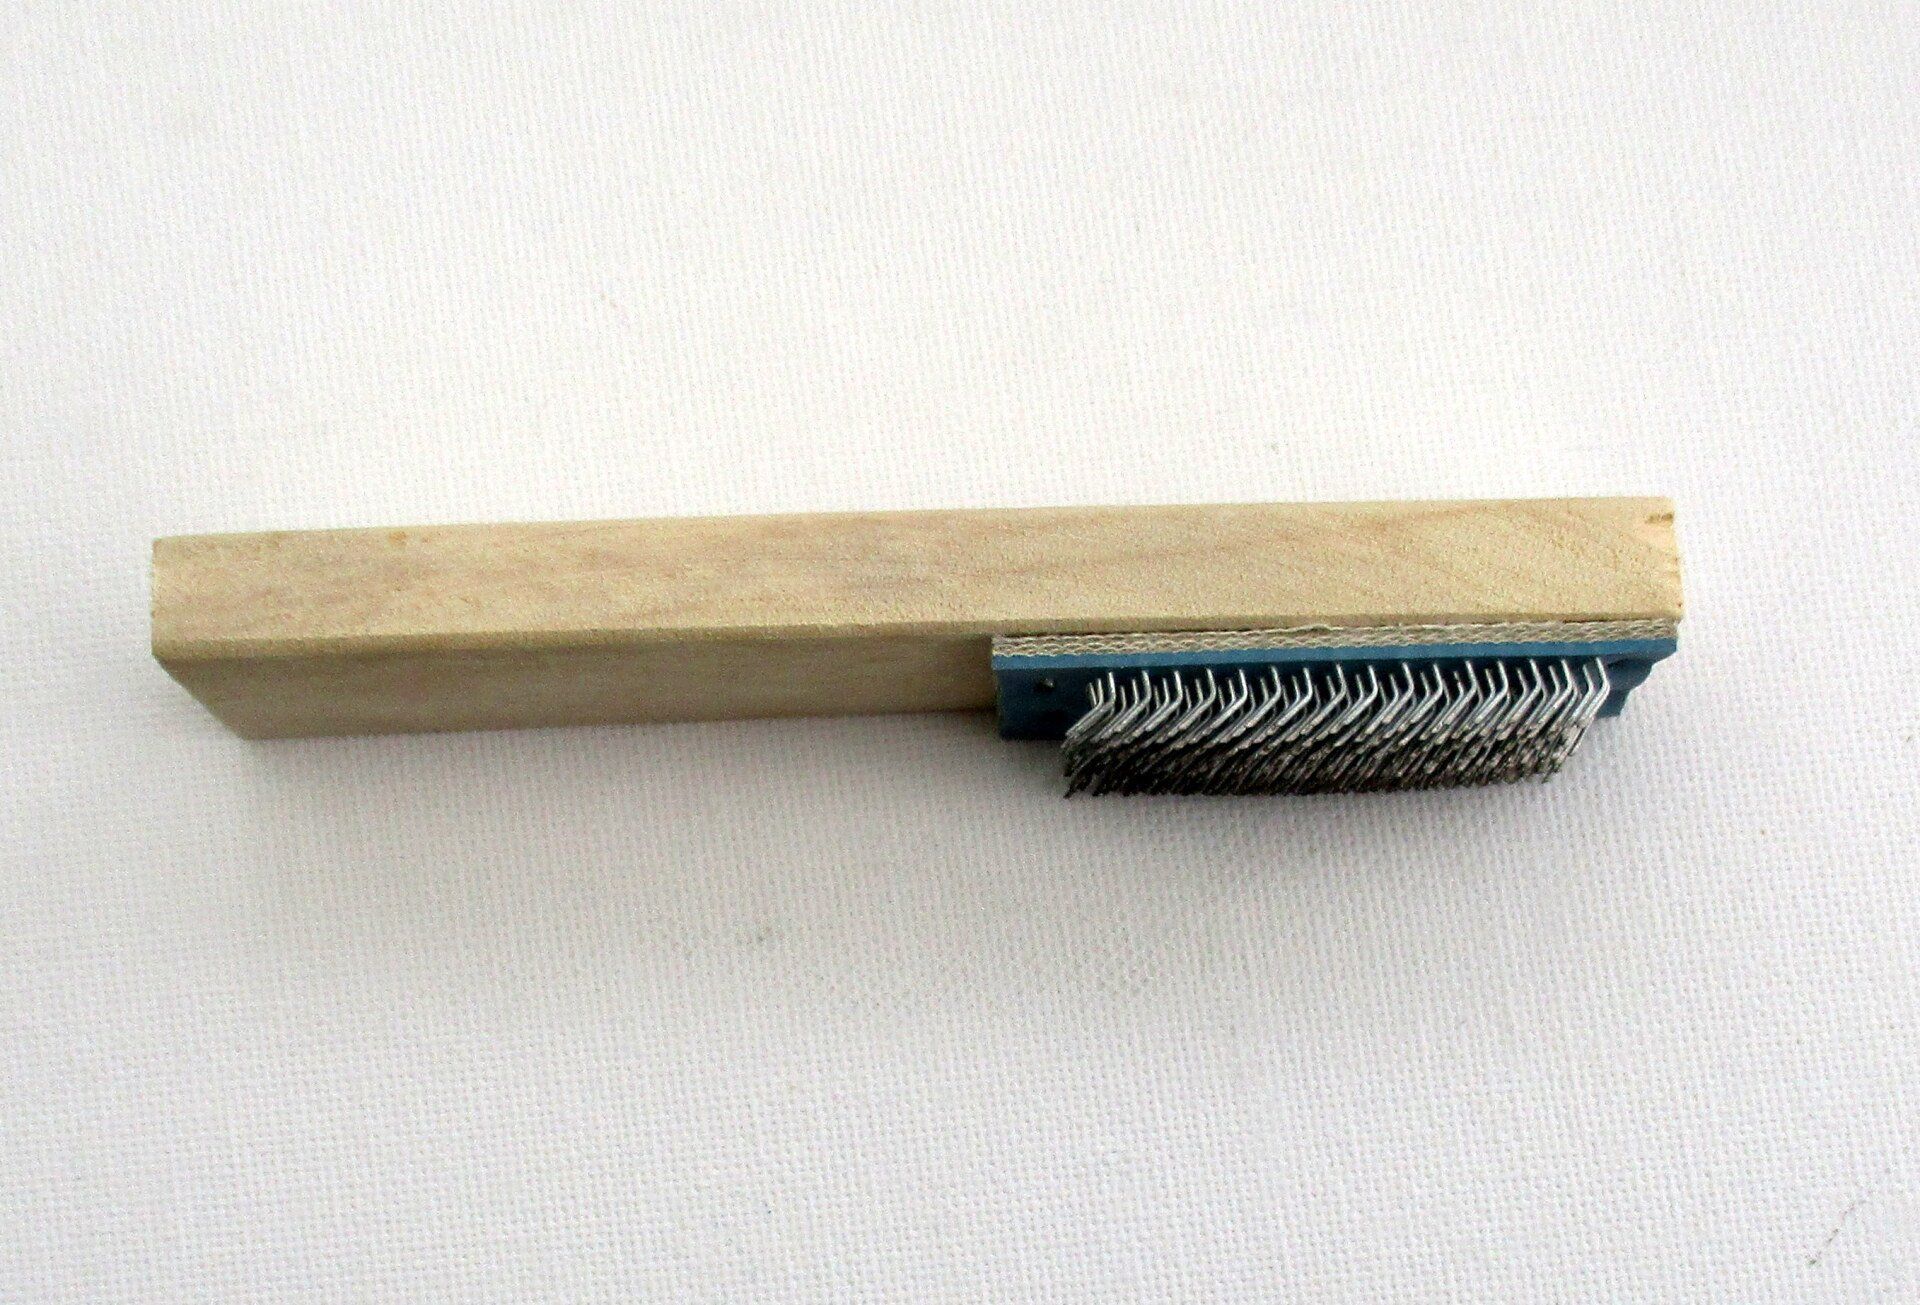
- To release fur trapped in the seam you have sewn, you can use a special teasel brush. For smaller or less dense fur, simply run the blunt end of a sewing needle, or wooden cocktail seam along the seam.
CUTTING THROUGH ALL THAT FUR AND FLUFF !
- To avoid your bear looking as though he has had a bad hair day, we need cut as little of the fur pile as possible. It helps to use the tips of your scissors and take small snips. For hefty fur, try running a small craft blade along the back of the fur
- Do be very careful though and aware that this will not work so easily on trickier shapes :
- If the fur you have chosen is very long and fluffy, have your vacuum handy - it gets everywhere !
DEALING WITH S T R E T C H !
Some faux furs have a loosely woven with stretch. These can make lovely floppy huggables but to avoid your bear distoring as soon as he gets his first hug, we need to add backing (or interfacing) to the fur.

Fusible Interfacing:
Fusible (or iron on) interfacing has one side which is literally "fused" to the fabric when heated. Fusible can be attached to the whole fur piece (on the back, of course) before cutting out. Do be cautious and test on a scrap piece first. Some faux furs will not be happy with too much heat !
Sewn interfacing:
This type of interfacing will need to be cut from the individual pattern pieces. It is then tacked to the back of the fur (keep within the seam allowance given on your pattern.
JOINTING YOUR CREATION
Before you start to make you softie, you need to think who they will be going to. For younger children's teds you need to use plastic safety joints and eyes. Embroidered features and thread joints are also acceptable (more on that later : )
For (ahem) older collector's then you can use traditional cotter pin joints, or the newer nut and bolt joints.
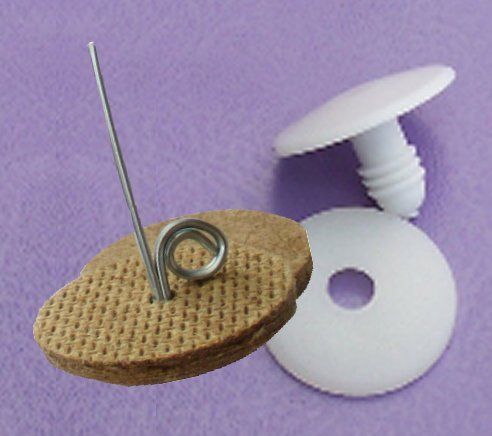
FITTING SAFETY JOINTS
Always remember that once this type of joint is in place, they cannot be removed, so make sure of the position !
These are fairly easy to fit, but do need small holes made in the limb and body, to take the stem. A dab of glue around the edges will avoid any fraying.
- The main "mushroom" shape sits inside the limb, or head, with the stem sticking through the hole you have made.
- Push the stem through the small hole in the body
- Working inside the body, fit the larger washer over the stem.
- Next push the smaller locking washer firmly down over the stem. Keep pushing until it will go no further. You may hear it clicking as it moves down due to the ridges on the stem.
(Optional) You may have two of the larger washers. If so, pop one of these onto the stem first, then continue as above : )
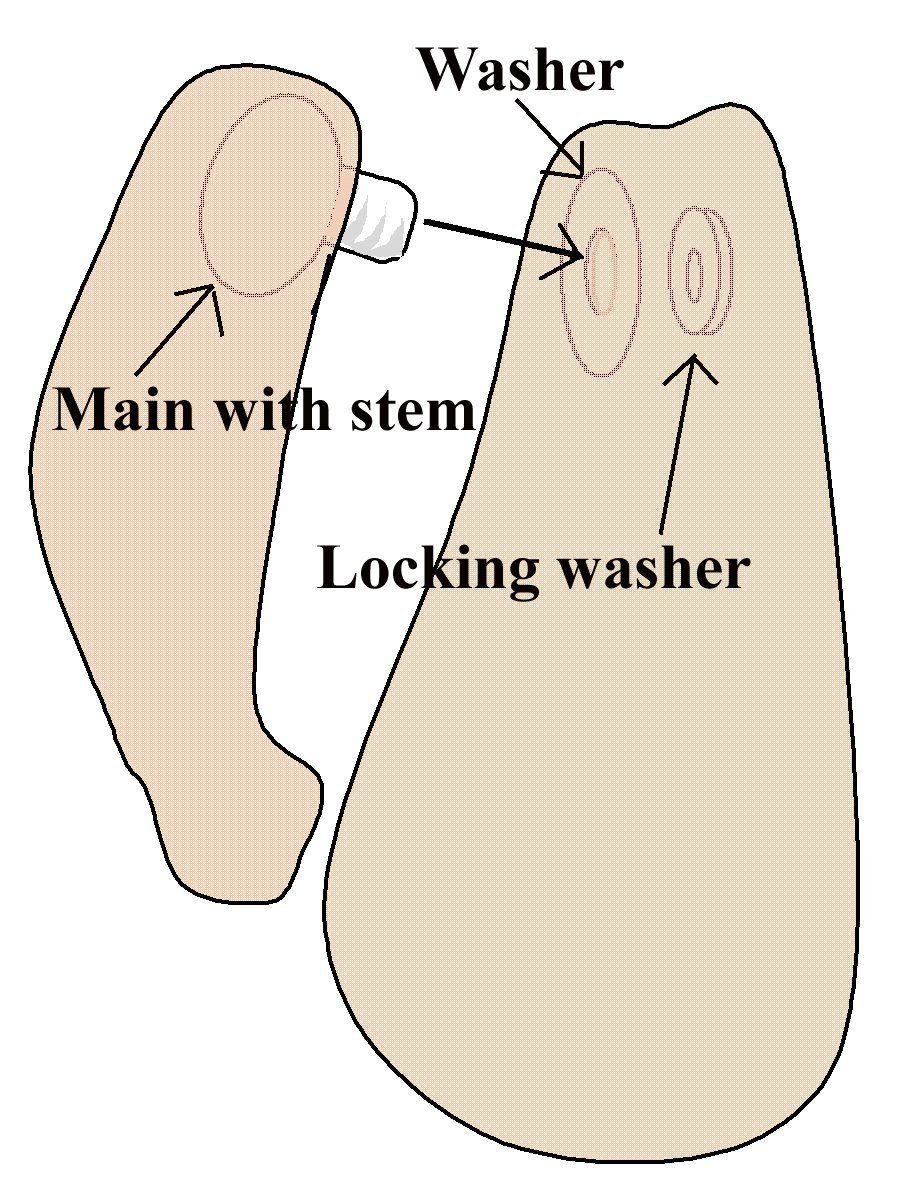
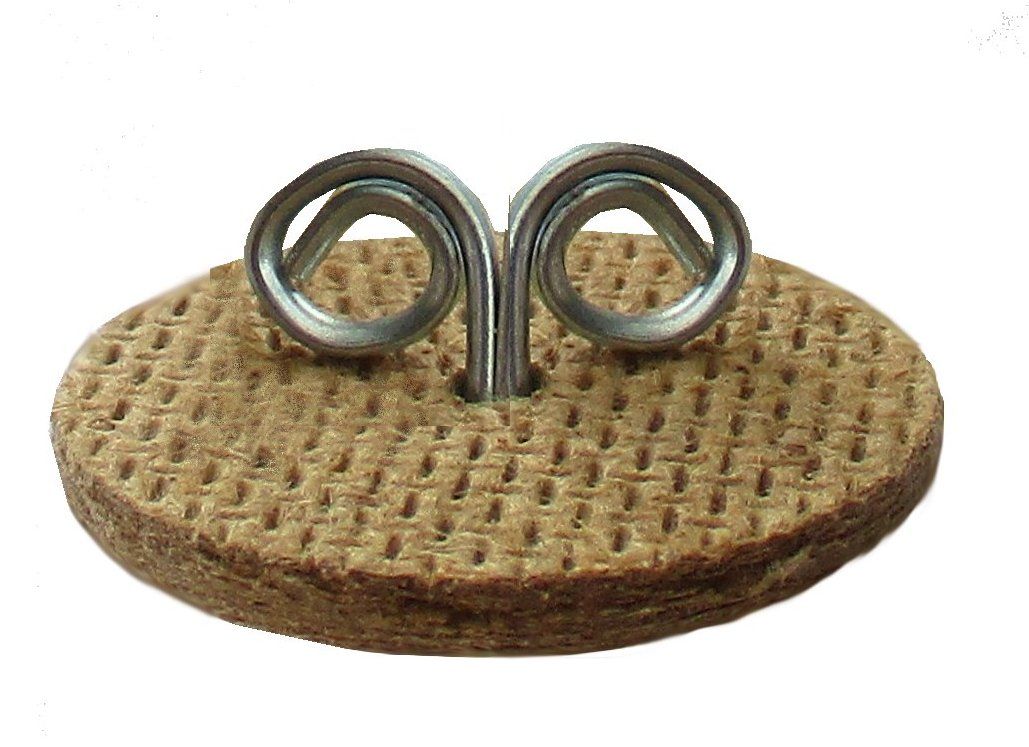
FITTING COTTER PIN JOINTS
Perfect for adults and older children's softies (no for youngsters )

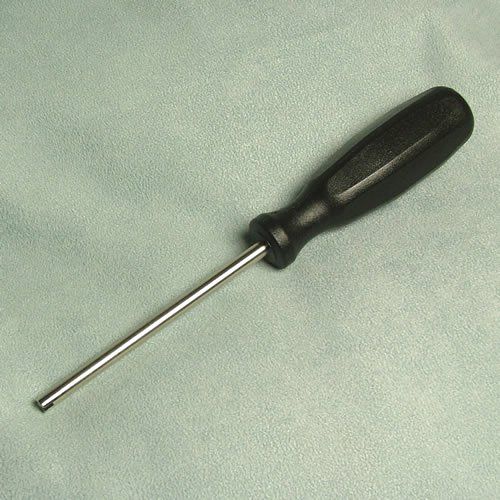
These are the traditional joints used in vintage bears. They will need a small pair of round nosed pliers to roll the two pins down. If you are making a lot of your bears this way, you can invest in a special cotter pin turner, pictured below.
Cotter pin joints have a two legged metal pin, two fibre or hardboard washers. Some joints will also have two smaller metal washers (fibreboard washers do not need these).
- Make up the first half of the joint by simply pushing the pin through centre of a washer. If you have a smaller metal washer, push the pin through this first.
- Depending upon the fabric or backing of your fur, you may be able to wriggle the pin through the threads. If not, you will need to make a tiny hole for the pin to fit through.
- Set the joint inside the limb, or head, with the pin sticking outside.
- Push the pin into the body.
- Working inside the body, pop the other washer over the pin, (followed by the smaller metal washer if you have one).
- Now we need our small pair of pliers to roll one of the pins down tightly against the washer.
- Roll the other half of the pin down against the washer as well, but roll this down on the opposite side. (see below)
FITTING EYE WHITES
This is a very simple way to give the eyes more life.
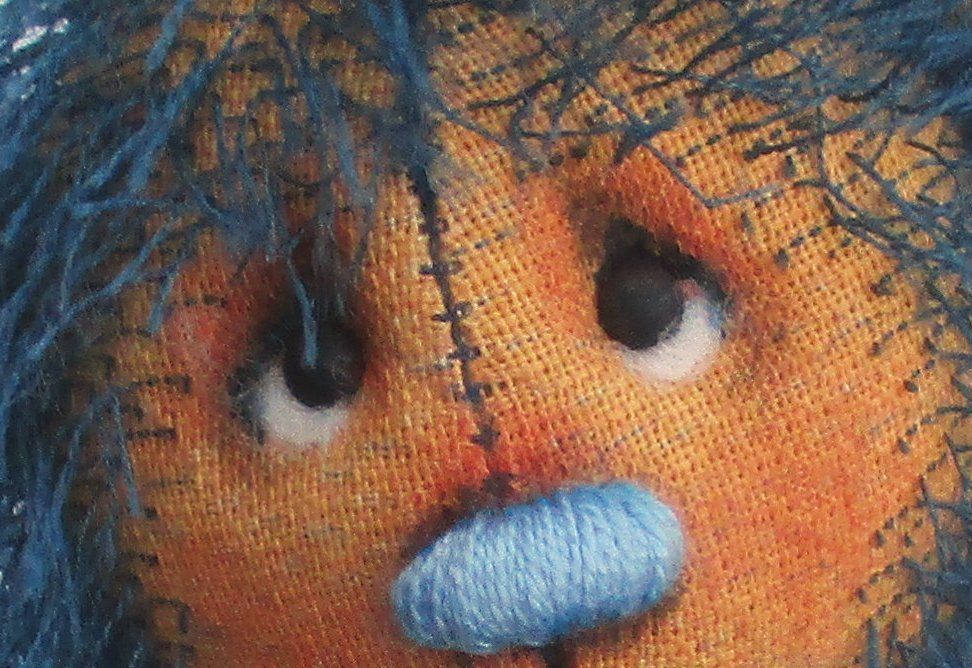
- To make eye whites for your bear, cut two small oval shapes in white felt.
- Set the eyes off-centre so that the white shows underneath the eyes (see above) For glass eyes, thread these onto the felt. For plastic eyes, you will need to cut a small hole for the stem.
- Trim the felt to stop the white showing over the top of the eyes (or your bear will be constantly staring at you : ))
